
Salesforce Service Cloud offers two distinct applications for service agents: the Service App and the Service Console App. These applications cater to varying service needs, allowing organizations to enhance agent efficiency. Below is a comparison and a step-by-step guide to creating a Service Console App.
Comparing Service App and Service Console App
| Feature | Service App (Standard Navigation) | Service Console App (Console Navigation) |
|---|---|---|
| Navigation Style | Tabs across the top of the screen, similar to standard Salesforce apps. | Tab-based workspace with sub-tabs for better multitasking. |
| Use Case | Best for straightforward, single-record processes. | Ideal for agents managing multiple cases or customers at once. |
| Multitasking | Limited—requires switching back and forth between records. | Supports multiple open records in tabs and sub-tabs. |
| Utilities | Basic functionality. | Includes productivity tools like softphones, history, and bookmarks. |
| Efficiency | Slower for complex tasks. | Optimized for handling high-volume tasks. |
When to Use Each App
Service App
- Scenario: A small team handling one or two cases at a time.
- Example: An agent manages a single customer issue, focusing on simple tasks like logging call details or updating a single record.
Service Console App
- Scenario: A large support team handling complex workflows.
- Example: An agent resolves multiple cases while accessing related accounts, knowledge articles, and customer details simultaneously.
How to Create a Service Console App
Step 1: Access App Manager
- Log in to Salesforce.
- Click the Gear Icon in the top-right corner.
- Select Setup from the dropdown menu.
- In the Quick Find box, type App Manager and click on it.
Step 2: Create a New Lightning App
- In the App Manager, click the New Lightning App button.

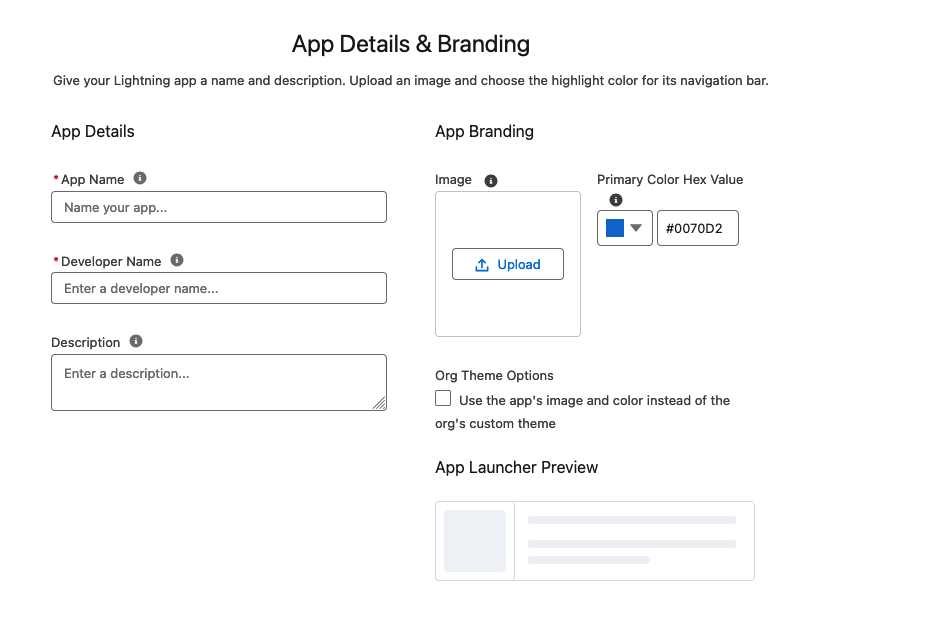
- Enter the App Name (e.g., “Service Console App”) and optional branding information.
- Click Next to proceed.
Step 3: Choose Console Navigation Style
- On the Navigation Style page, select Console Navigation.
- Click Next.
| Navigation Style | Example Use |
|---|---|
| Standard Navigation | Simple workflows with minimal multitasking. |
| Console Navigation | Complex workflows requiring multiple open records. |
Step 4: Add Utility Items
- In the Utility Bar section, add tools like:
- History: For quick navigation to recently accessed records.
- Softphone: To integrate call-handling systems.
- Omni-Channel: To manage agent workload effectively.
- Customize these utilities as needed.
Step 5: Select App Items
- Choose the objects and tabs to include in the app, such as:
- Cases
- Accounts
- Contacts
- Knowledge
- Click Next.
Step 6: Assign Profiles
- Assign the app to specific user profiles who will use it (e.g., “Support Agents”).
- Click Save & Finish.
Testing the Service Console App
- Navigate to the App Launcher.
- Search for and open the newly created Service Console App.
- Test multitasking features by opening multiple cases, accounts, or contacts in separate tabs.
Conclusion
The Service App and Service Console App serve different purposes depending on the complexity of workflows. While the Service App suits straightforward tasks, the Service Console App enhances multitasking and efficiency for service agents.
Creating a Service Console App ensures your team can handle high volumes of customer interactions seamlessly, boosting productivity and customer satisfaction.