Force.com IDE : In our previous Salesforce Tutorials we have learned about what is Force.com Platform. In this salesforce training tutorial we are going to learn about Force.com IDE and how to install Force.com IDE for testing and deployment.
What is Force.com IDE ?
Full form for IDE is Integrated Development Environment. Force.com IDE is a professional tool used by salesforce developers for development, testing and deployment. Force.com IDE is a flexible tool which is used along with open source tool framework called Eclipse.
How to Install Force.com IDE ?
Follow the steps given below.
- First check whether your operating system supported or not.
- Download Java SE Runtime Environment 7 and Install.
- Download Eclipse Kepler.
- Now go to eclipse file location and launch it.
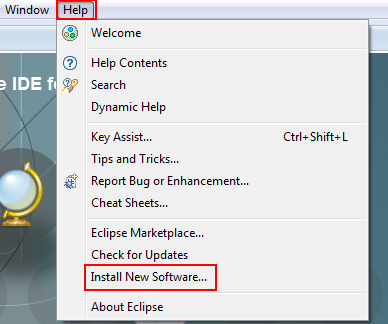
- Now go to Help=>Install new software.
- Now select on Add button.
- Now we have to fields called name and Location.
- Enter name as Force.com IDE.
- Copy the link in location http://media.developerforce.com/force-ide/eclipse42.
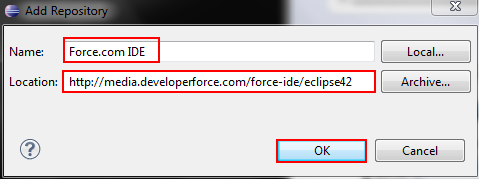
- Select OK.
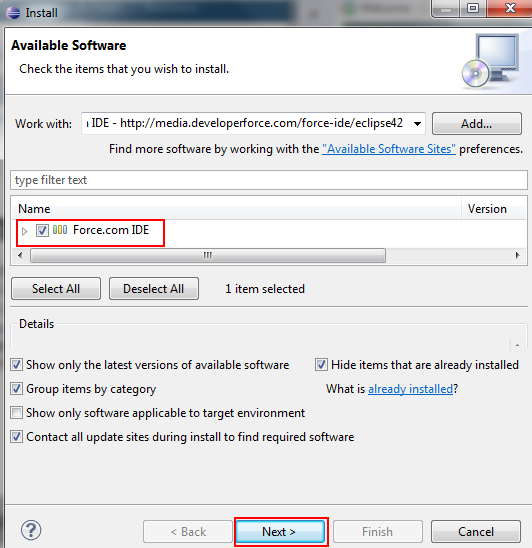
- Select check box and select Next Button.
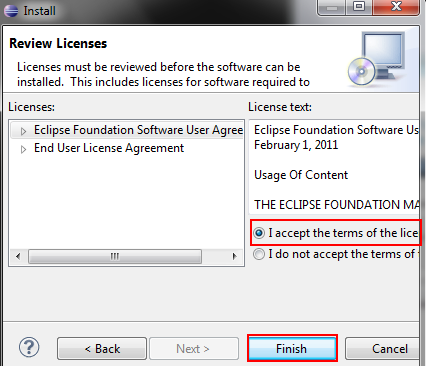
- Accept the terms of the licences and click on finish button.
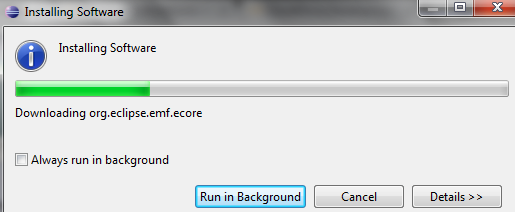
IDE will be installed as shown above. Wait till the IDE software installs.
- Now a dialogue will be appeared on screen to restart Eclipse. Click on YES.
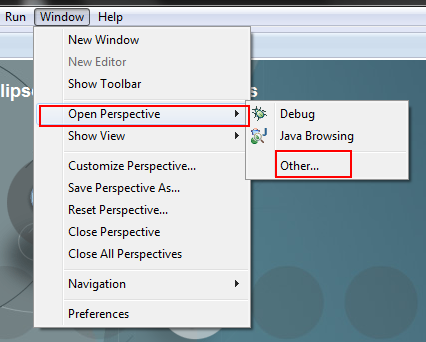
- When Eclipse restarts go to windows=>Open Perspective=>Other=>Force.com.
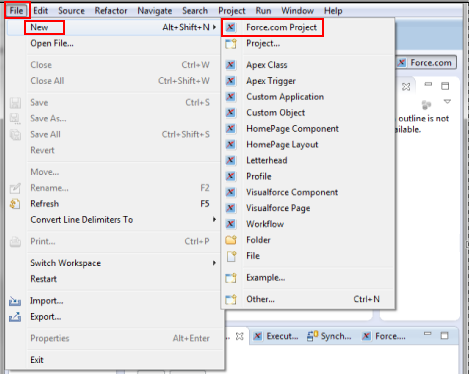
Now we are ready to develop and customize Force.com application in Eclipse. To integrate Eclipse Force.com IDE with our salesforce.com account go to
- File=>New=> Force.com Project.
- Now enter Project name, Username, Password and Security token to login in to your Salesforce.com.
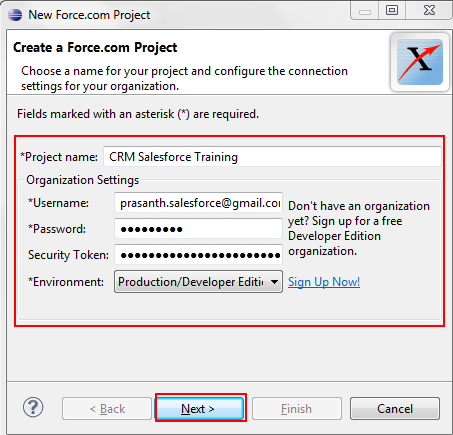
Select Next to complete integration.