
Managing files efficiently is crucial in Salesforce applications, especially when dealing with multiple files that need to be downloaded or transferred. Zipping files not only reduces the total size but also simplifies the process of handling multiple files. In this article, we will explore how to zip files in Salesforce using JSZip in Lightning Web Components (LWC) and discuss the limitations regarding the size of JSZip files.
Why Zip Files in Salesforce?
Zipping files in Salesforce offers several advantages:
- Efficiency: Compressing files reduces their size, making data transfer faster.
- Convenience: Bundling multiple files into a single ZIP archive simplifies downloading and sharing.
- Organization: Keeps related files together, improving file management.
Methods to Zip Files in Salesforce
There are primarily two methods to zip files in Salesforce:
- Using Apex: Server-side zipping by manipulating binary data.
- Using JSZip in LWC: Client-side zipping using the JSZip library in Lightning Web Components.
1. Zipping Files Using Apex
Apex allows you to handle binary data using the Blob class. However, since Apex doesn’t natively support ZIP file creation, you need to use a third-party library like Zippex.
Steps to Zip Files Using Apex and Zippex
Follow these steps to zip files using Apex and the Zippex library:
- Step 1: Install the Zippex Library
- Download the
Zippexlibrary from its GitHub repository. - Deploy the library code to your Salesforce org.
- Download the
- Step 2: Retrieve Files to Zip
- Query the files you want to include in the ZIP archive.
- Step 3: Create the ZIP Archive
- Use the
Zippexclass to add files and generate the ZIP blob.
- Use the
- Step 4: Save or Send the ZIP File
- Save the ZIP file as a
ContentVersionor send it as a response.
- Save the ZIP file as a
Example Code Using Zippex
// Step 2: Retrieve Files
List<ContentVersion> files = [SELECT Title, VersionData FROM ContentVersion WHERE Id IN :fileIds];

// Step 3: Create ZIP Archive
Zippex zip = new Zippex();
for (ContentVersion file : files) {
    zip.addFile(file.Title + '.pdf', file.VersionData);
}
Blob zipBlob = zip.getZipArchive();

// Step 4: Save ZIP File
ContentVersion zipFile = new ContentVersion();
zipFile.Title = 'ZippedFiles';
zipFile.PathOnClient = 'ZippedFiles.zip';
zipFile.VersionData = zipBlob;
insert zipFile;
2. Zipping Files Using JSZip in LWC
JSZip is a JavaScript library that enables client-side generation of ZIP files. Using JSZip in Lightning Web Components allows users to zip and download files directly from the browser.
Steps to Zip Files Using JSZip
Here’s how to implement zipping files using JSZip in LWC:
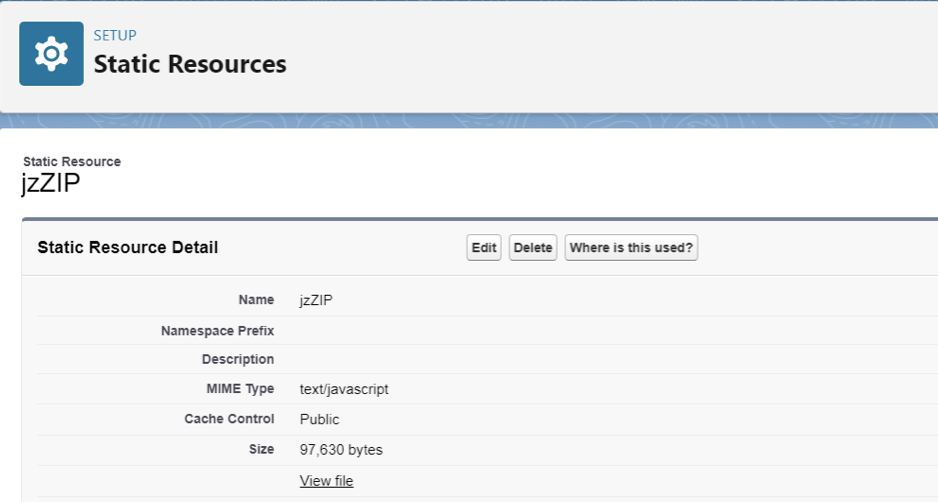
- Step 1: Include JSZip in Your LWC
- Download the JSZip library and upload it as a static resource named
jszip.
- Download the JSZip library and upload it as a static resource named
- Step 2: Import JSZip in Your LWC Component
- Use the
loadScriptmethod to load the JSZip library.
- Use the
- Step 3: Retrieve Files to Zip
- Use an Apex method to fetch the files and their data.
- Step 4: Create the ZIP Archive
- Use JSZip methods to add files and generate the ZIP file.
- Step 5: Download the ZIP File
- Create a link to trigger the download of the ZIP file.
Example Code Using JSZip in LWC
LWC JavaScript File:
import { LightningElement } from 'lwc';
import { loadScript } from 'lightning/platformResourceLoader';
import JSZIP from '@salesforce/resourceUrl/jszip';
import getFileData from '@salesforce/apex/FileController.getFileData';

export default class ZipFilesComponent extends LightningElement {
    jszipInitialized = false;
    filesToZip = [];

    renderedCallback() {
        if (this.jszipInitialized) {
            return;
        }
        loadScript(this, JSZIP)
            .then(() => {
                this.jszipInitialized = true;
            })
            .catch(error => {
                console.error('Error loading JSZip', error);
            });
    }

    handleZipFiles() {
        getFileData({ fileIds: this.selectedFileIds })
            .then(data => {
                const zip = new JSZip();
                data.forEach(file => {
                    const binaryData = atob(file.base64Data);
                    zip.file(file.fileName, binaryData, { binary: true });
                });
                return zip.generateAsync({ type: 'blob' });
            })
            .then(zipBlob => {
                this.downloadZip(zipBlob, 'ZippedFiles.zip');
            })
            .catch(error => {
                console.error('Error zipping files', error);
            });
    }

    downloadZip(blob, fileName) {
        const link = document.createElement('a');
        link.href = URL.createObjectURL(blob);
        link.download = fileName;
        link.click();
    }
}
Apex Controller:
public with sharing class FileController {
    @AuraEnabled(cacheable=true)
    public static List<FileData> getFileData(List<Id> fileIds) {
        List<FileData> fileDataList = new List<FileData>();
        for (ContentVersion cv : [SELECT Title, VersionData FROM ContentVersion WHERE Id IN :fileIds]) {
            String base64Data = EncodingUtil.base64Encode(cv.VersionData);
            fileDataList.add(new FileData(cv.Title, base64Data));
        }
        return fileDataList;
    }

    public class FileData {
        @AuraEnabled public String fileName;
        @AuraEnabled public String base64Data;

        public FileData(String fileName, String base64Data) {
            this.fileName = fileName;
            this.base64Data = base64Data;
        }
    }
}
Understanding JSZip File Size Limitations
While JSZip is a powerful tool for client-side zipping, there are limitations to consider, especially concerning file sizes.
1. Browser Memory Limitations
Browsers have limited memory resources. When zipping large files or a large number of files, you may encounter performance issues or crashes due to memory exhaustion.
2. Processing Power
Zipping files is a CPU-intensive task. Large operations can make the browser unresponsive, leading to a poor user experience.
3. Salesforce Data Transfer Limits
Salesforce imposes limits on the size of data that can be transferred between the server and client. The maximum response size for a synchronous Apex call is 6 MB.
4. Practical File Size Guidelines
To ensure optimal performance:
- Individual File Size: Keep individual files under 5 MB when processing with JSZip.
- Total ZIP Size: Aim for a total ZIP file size of less than 20 MB.
- Number of Files: Limit the number of files to prevent excessive processing time.
Best Practices for Zipping Files in Salesforce
1. Optimize File Sizes
Ensure that the files you are zipping are optimized for size:
- Compress images before uploading.
- Remove unnecessary data from files.
2. Handle Errors and Exceptions
Implement proper error handling to provide feedback to users in case of failures.
3. Provide User Feedback
Use loading indicators or progress bars to inform users of ongoing processes.
4. Use Asynchronous Processing
Leverage asynchronous methods to prevent blocking the UI thread and keep the application responsive.
Alternative Approach: Using Apex for Large Files
If you need to zip large files that exceed the limitations of client-side processing, consider performing the zipping on the server using Apex.
Benefits of Server-Side Zipping
- Increased Processing Power: Utilize server resources to handle larger files.
- Bypass Browser Limitations: Avoid issues related to browser memory and processing constraints.
Considerations
- Governor Limits: Be mindful of Apex governor limits, such as heap size (6 MB for synchronous and 12 MB for asynchronous transactions).
- Async Processing: Use batch Apex or future methods if necessary.
Conclusion
Zipping files in Salesforce can enhance file management and improve user experience. While JSZip offers a convenient client-side solution, it’s important to be aware of its limitations regarding file sizes and browser performance. By following best practices and considering alternative server-side solutions for larger files, you can implement efficient and reliable file zipping functionality in your Salesforce applications.
Understanding these methods and their constraints will help you choose the most appropriate approach for your specific use case, ensuring optimal performance and user satisfaction.