Salesforce Apex Data Loader is a powerful client application designed to handle bulk data operations within your Salesforce environment. Whether you need to import, update, upsert, delete, or export large volumes of data, Apex Data Loader provides an efficient and user-friendly solution.
Introduction to Apex Data Loader
Apex Data Loader is essential for administrators and developers who manage extensive datasets. It supports both standard and custom objects, making it versatile for various business needs. With features like scheduled operations and command-line interface support, it caters to both manual and automated data tasks.
In this training tutorial we are going to learn clearly how to Insert records from CSV file to salesforce through Data Loader. Before inserting records we are required to prepare CSV File. CSV file will be created in Ms-Excel application .
Prerequisites
- Salesforce Credentials: Ensure you have the necessary permissions to perform data insertions.
- CSV File Preparation: Organize your data in a CSV file with appropriate headers matching Salesforce field names.
- Data Validation: Verify that all required fields are populated and data formats align with Salesforce specifications.
Step-by-Step Guide to Performing an Insert Operation
Install and Launch Apex Data Loader:
- Download Apex Data Loader from Salesforce Setup under Data Management.
- Install the application and launch it on your computer.
Login to Salesforce:
- Enter your Salesforce username and password.
- If using a Sandbox, select the appropriate environment.
- Complete any required security token prompts.
Select the Insert Operation:
- On the main screen, choose the Insert option to add new records.
On the main screen, choose the Insert option to add new records.
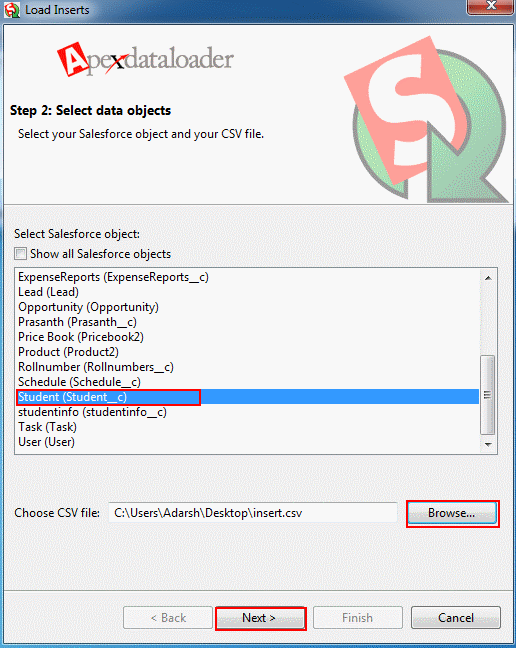
Enter your username and Password and click on Login Button. Now select object to which you want to insert record. Browse for CSV file to be inserted. Procedure for Creation of CSV file is shown below.
Prepare CSV file in Ms-Excel to insert as shown below. We are taking an example Studentinfo__c object. In this object we are planning to add Course name, Fee Paid, Subject 1 Marks, Subject 2 Marks, Subject 3 Marks.
Click Next.
Click OK. Initialization is Succeeded.
Mapping
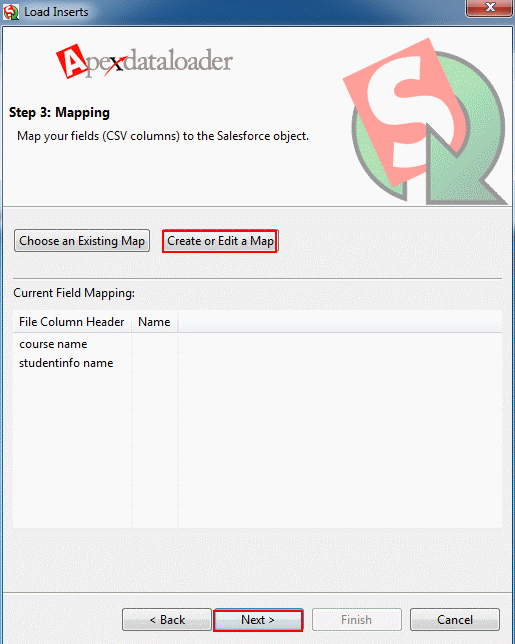
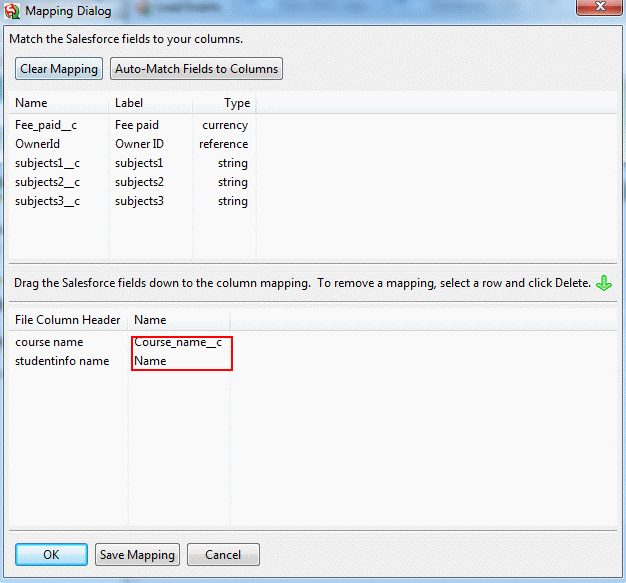
Mapping is the process of mapping CSV fields to the fields in Studentinfo__c object. We can check fields manually and also Fields can be mapped automatically by selecting “Auto Match fields”. We can save the Mapping which will b used in future.
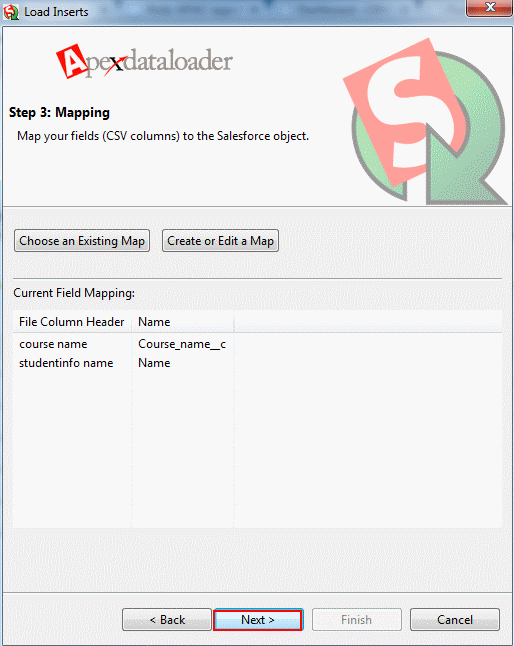
Now create or Edit a Map. In CSV file we have given different field names to match those column Header we choose mapping and click next.
Drag the salesforce object fields down to the column mapping then select OK button.
Select Next.
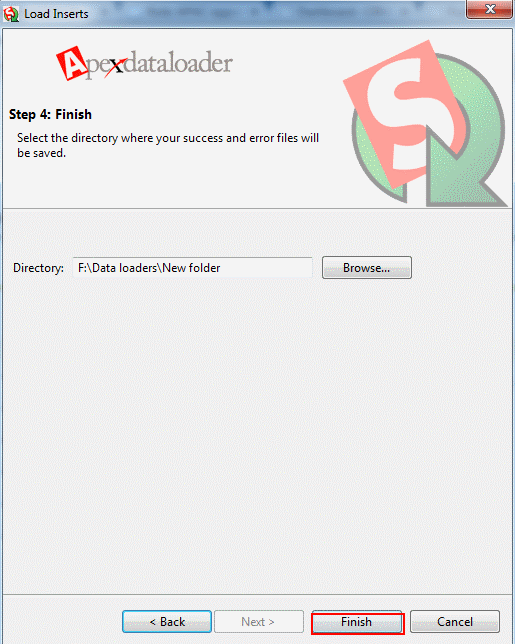
Select Finish button
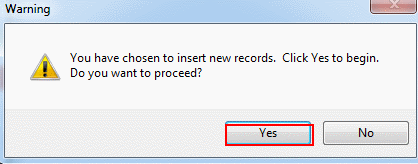
Select Yes.

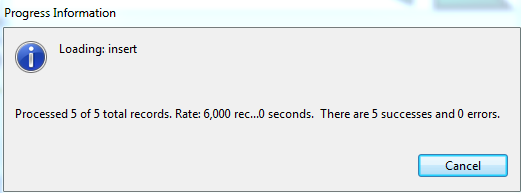
Insertion of record is in progress and we inserted 5 records with out errors.
Now go to object which we selected the records to insert.
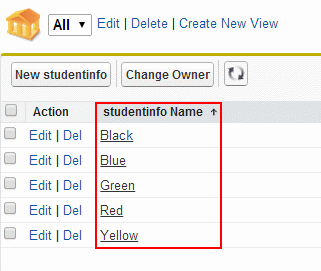
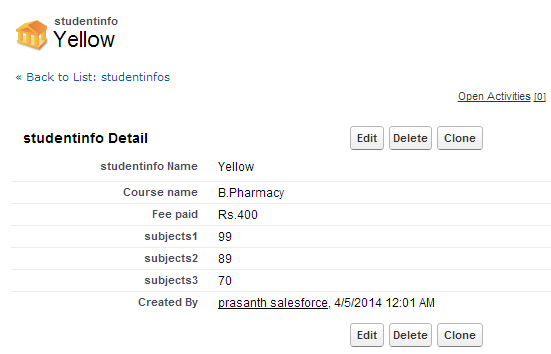
Now select any of the Record which we inserted through Data Loader and observe the fields given below.
Insert Operation Overview
| Step | Description | Action |
|---|---|---|
| 1 | Select Operation | Choose the Insert option to add new records. |
| 2 | Choose Object | Select the Salesforce object (e.g., Account, Contact) where you want to insert records. |
| 3 | Upload CSV File | Click Browse to locate and select your prepared CSV file containing the new records. |
| 4 | Map Fields | Click Create or Edit a Map to map the columns in your CSV to the corresponding Salesforce fields. |
| 5 | Execute Insert | After mapping, click Next and then Finish to start the insertion process. |
| 6 | Review Logs | Upon completion, review the success and error logs generated. |
Salesforce Apex Data Loader’s Insert Operation is an indispensable tool for managing large-scale data additions efficiently. By following this tutorial and adhering to best practices, you can streamline your data management processes, ensuring accuracy and saving valuable time. For more detailed guides and advanced features, refer to the Inserting Records Through Apex Data Loader tutorial on SalesforceTutorial.com.

